Tuesday, October 11, 2011

Tomatoes


Unfortunately, this post is unseasonably late, but I'm am so going to love having all these tomatoes as winter comes in a hurry. 

I was inspired by my favorite tomato sauce to grow and can my own tomatoes this year. I had a decent crop with my 3 plants, but still needed to supplement with my mom's tomatoes, her neighbor's tomatoes and a couple boxes from the local fruit stand. 

Canning took way longer than I expected. The actual peeling, cutting, and filling jars was a breeze, it was the hours of processing time (filled jars in boiling water to seal the lids and kill bacteria) that was a beast.

Beautiful red jewels
Peeled and ready for dicing.
After dicing the tomatoes, they were place in jars with salt, lemon juice, and a little extra water.

Ready for lids and processing. 


To can raw tomatoes:
1) dip tomatoes in boiling water, allow to cool to the touch, peel skins and dice.
2) put diced tomatoes into clean, hot quart jars (we wash our jars in the dishwasher and remove them for filling while still hot) with 2 tsp lemon juice and 1 tsp salt. We added a bit of water to level off the jars. 
3) simmer lids and seals in boiling water, then tighten onto jars.
4) submerge jars in boiling water bath. Water level should be at least 1-inch above the top of the cans. 
5) process jars in boiling water for 50 minutes. Check to make sure the lids pop down to seal (they just need a tap on top if they don't pop down themselves).


Friday, October 7, 2011

Signs of Fall


Well, the rumor mill around work last week was all about how the temperature is going to drop this week. So, I decided I needed to start "winter-izing" the garden. Or at least save all the wonderful herbs I lost to an early frost last year. So my dutiful husband and I sheared back all the garden herbs and picked what was left of the vegetables...mostly carrots, though I think they would survive in colder temps. Plus, stay tuned for canning tomatoes. (On a side note, many of those lovely seedlings I planted in the spring never developed into vegetables. Oh well, c'est la vie. Next year, we'll try, try again.)

 Currently, my kitchen is hardly usable due every surface being covered by towels, cookie sheets, baking dishes and assorted platters that are serving as drying racks for all the herbs. I need to get them tied up and hanging! Geesh! Good thing they'll keep for now.

Herbs covering the counter and stove tops

Sage smells so good

Then again, so does rosemary


Two Varieties of Oregano

Saturday, October 1, 2011

Crockpot Applesauce

Apparently I have been on a blog hiatus! 

It's back-to-school time, and I swear it was just last week that school started. I'm still not sure what happened to the month of September...where did it go? But, I have 24 bright-eyed first graders keeping me hopping during the day and pool supervising to keep me busy in the evening. But enough about that! 

We have apples!
Yum! 

I bought a box of the produce my state is famous for (Washington Apples, ya'll!), shared half with my mother, and last night I made applesauce. This is so easy that I slept through most of it. So dig out your Crockpot and let's get that heavenly aroma started!

Diced Fugi Apples
Dice up enough apples to fill your Crockpot all the way up to the top. This will reduce by two-thirds as it cooks. The peeling of apples is left up to your personal preference. I happen to have peeled every-other apple I diced.

Add 1/4 cup of sugar.

And a tablespoon of cinnamon.

Looks good enough to eat already!

Put the lid on, and turn your Crockpot to low.
Now go to sleep (that's what I did, anyway), or go to work. Or do whatever you want for the next 8-10 hours. The timing all depends on how chunky or mushy you like your sauce. Whatever you do, it will turn out yummy. This is practically no fail!

 This morning, I woke up to the mouthwatering aroma of fall.

(See how much it cooked down.)

 A quick breakfast of toast topped with applesauce before my Yoga class.


Alternative recipe, equally easy:
Apple Butter

My mom took a different route with her apples, she made apple butter (and shared with me!)

This is basically the same process, with a couple of adjustments: 
Use a 1/2 cup of sugar, peel all your apples, and when everything is mushy, use an immersion blender to smooth it out.

I think I'll have to make some Oatmeal Pancakes to use as a vehicle for yummy apple-goodness!


Monday, August 29, 2011

Quinoa Salad #2

This is inspired by a salad made at one of my favorite local restaurants. I think they added a lovely piece of salmon to the mix, which I chose to omit for this post.  
Start with salad greens freshly washed and torn. 
I used garden-fresh spinach, 
but in the middle of winter when that's not readily available, 
I'll use a bag of mixed baby greens.
 Top with a cup of cooked and cooled quinoa.
 Add 1/2 cup each dried cranberries and dried, diced apricots.
 Top with sunflower seeds (or sliced almonds).
 I tossed this salad with a store-bought champagne vinaigrette. 
Someday I will learn to make my own...


Saturday, August 20, 2011

Corn is in Season!

Corn is available everywhere right now: co-workers giving it away, trucks on the side of the road selling it for next to nothing, crates piled high at the local produce stand. 

Well, this is officially my new favorite way fix it. Delicious!


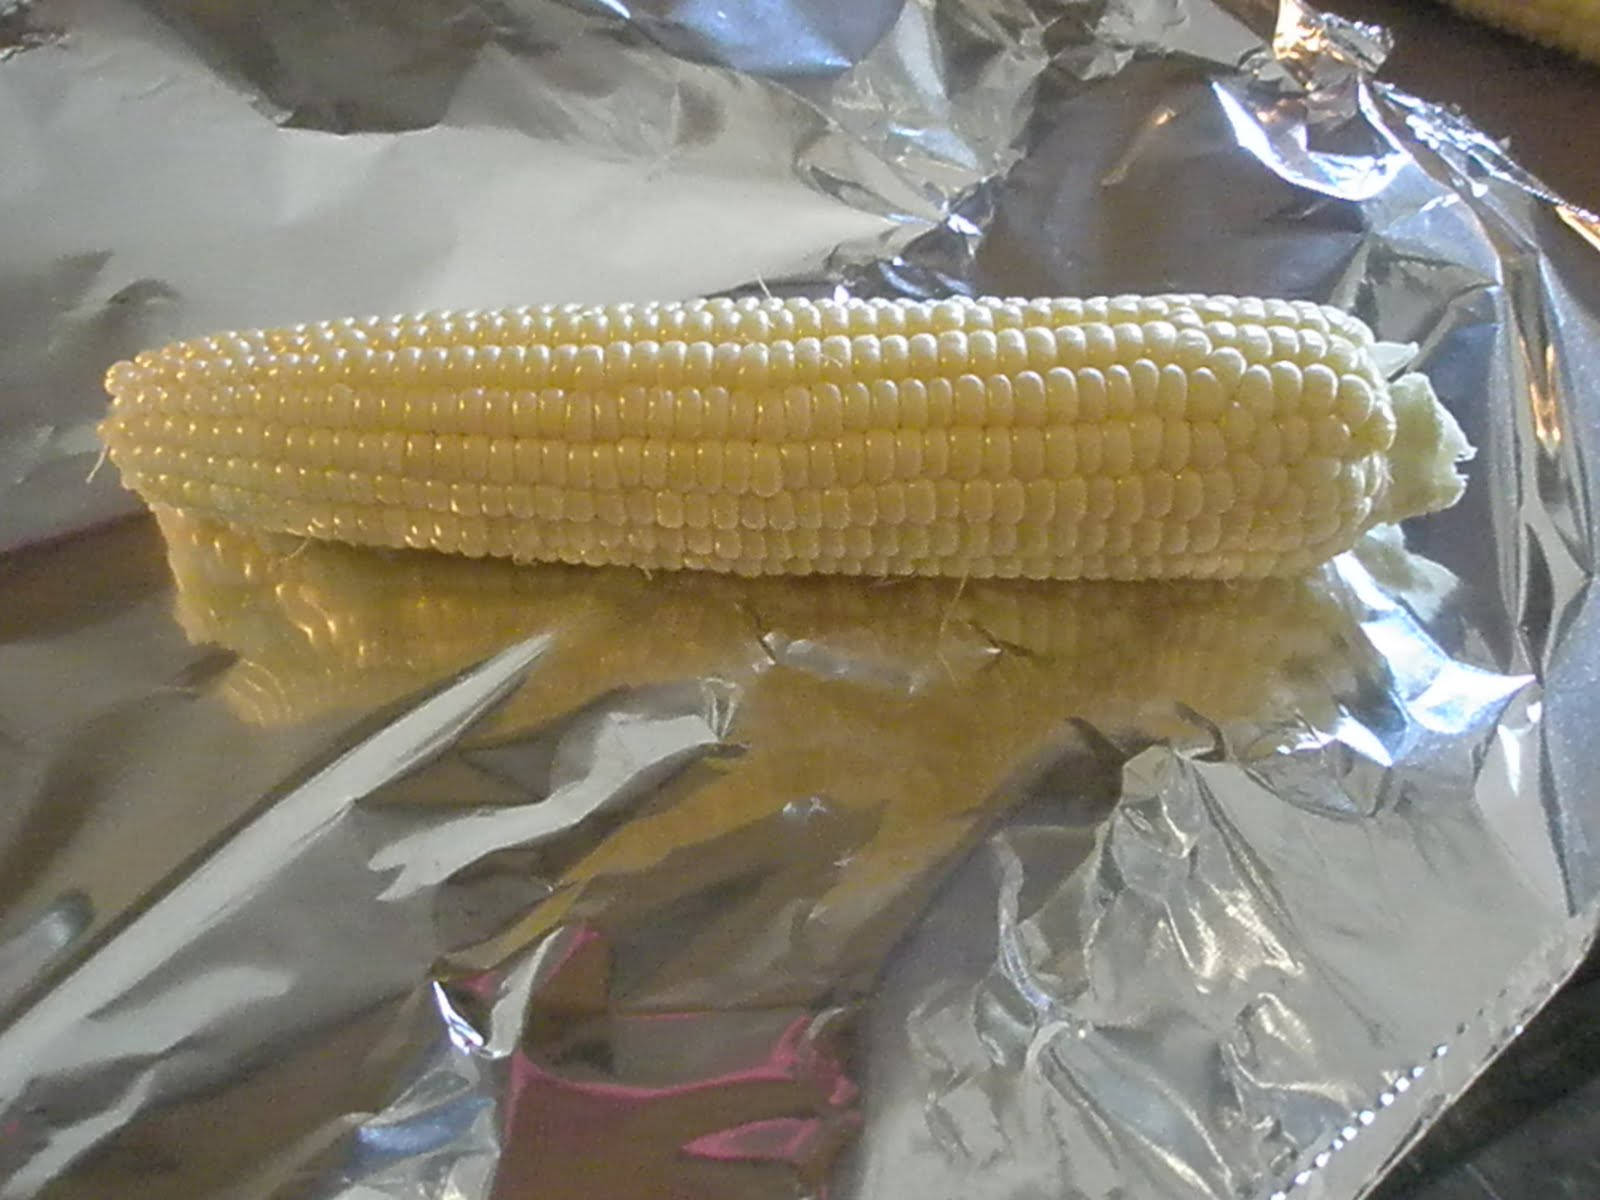
 Shuck and wash the corn placing each ear in the center of a square of tin foil. 


Squeeze a section of lime over the top.


Top with pat of butter, minced garlic, salt, pepper and cotijas (or feta) cheese*. 


 Roll the foil over the corn and cook on the grill. About 5 minutes. 


 Served here with salmon and couscous.

Cheater method:
(equally delicious)

Prepare corn: shuck, rinse and cook
Saute garlic in butter (one clove/pat per ear of corn), pour over corn
Squeeze sections of lime over corn
Top with salt, pepper and cotijas cheese.

*Note about grilling corn in foil: the cheese tends to stick to the foil.
There are two simple solutions to this problem:
1. top corn with cheese after it has been grilled and removed from foil.
2. scrape cheese off of foil and place onto corn (this solution allows all the flavors to mingle together during the cooking process).

Saturday, August 13, 2011

The Only Way I Will Eat A Banana

OR...Stawberry-Banana Shake


So I went to yoga class this morning for the first time in months (Yay Me!). 
I always feel super inspired to be healthier after a yoga session 
(a need to atone for last night's supper of grilled cheese and fries didn't hurt either).

 This is one of my favorite quick and healthy treats. 

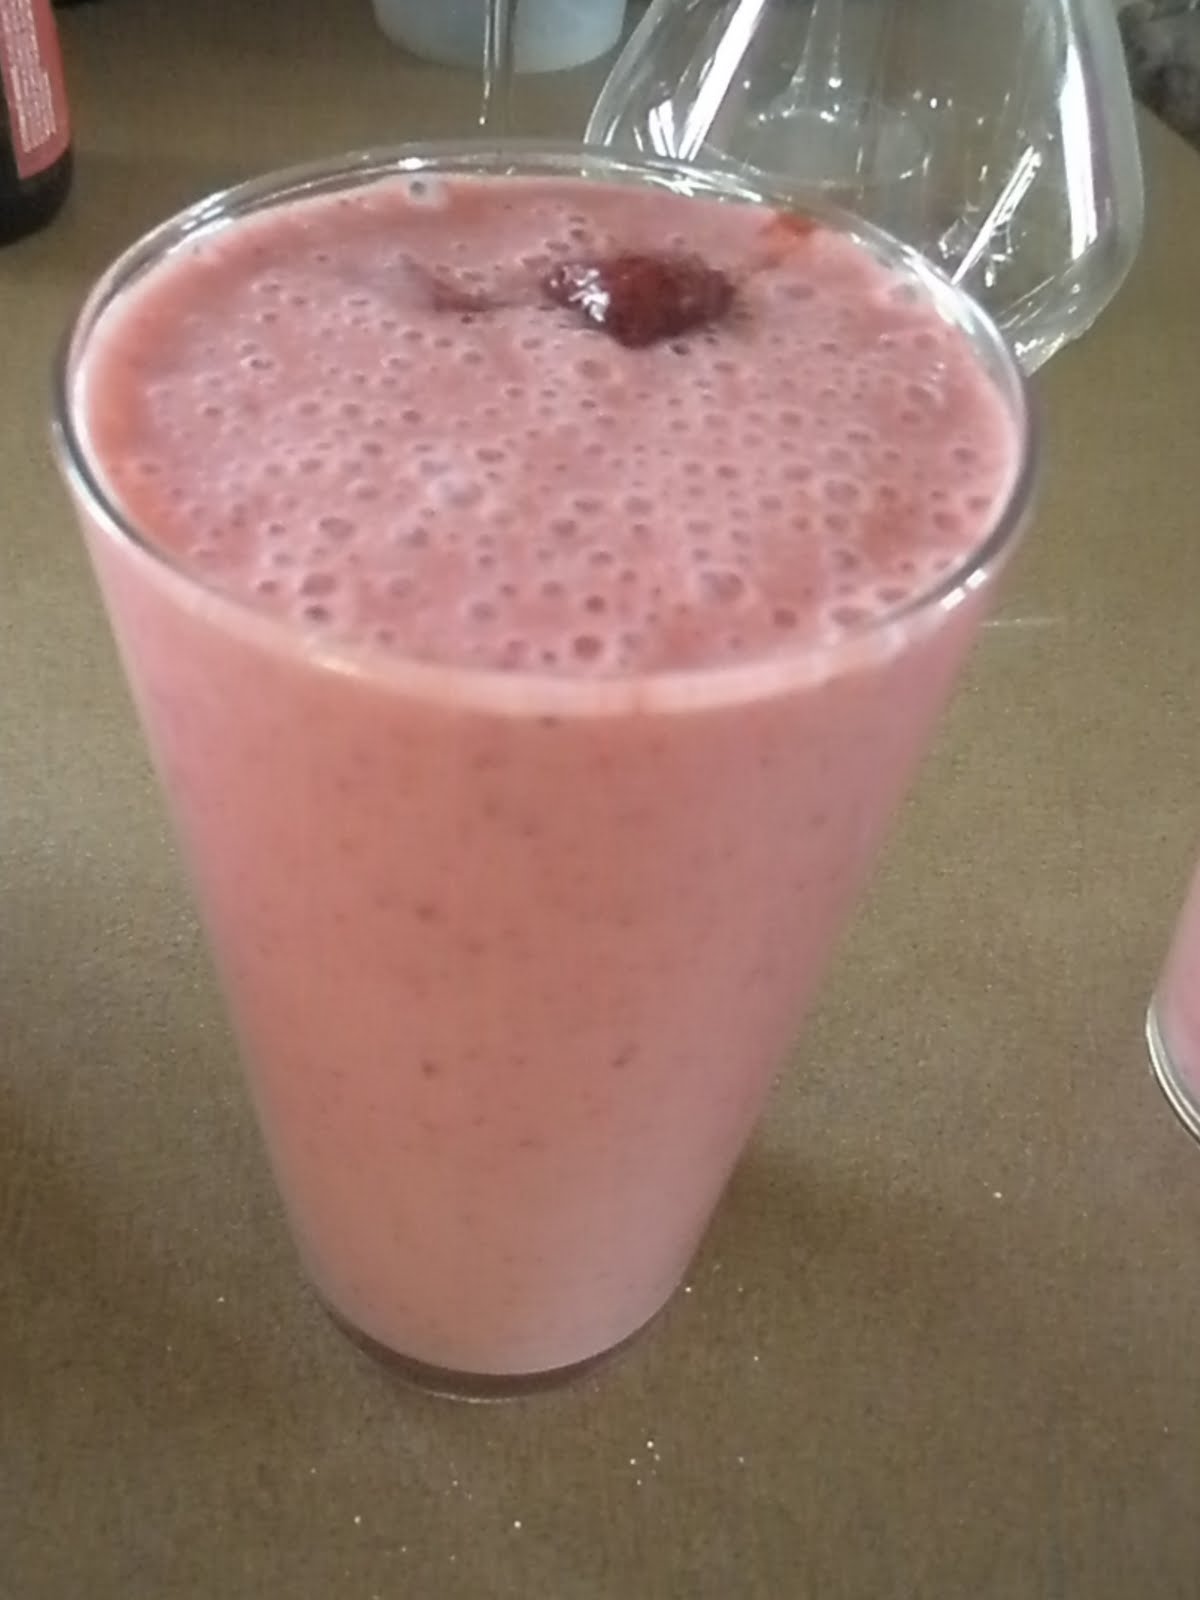
 One banana and a cup of strawberries in the blender.
 If you've got 'em, add or substitute other berries as well.
 Add one cup of OJ. 
This provides my liquid and sweetener in one. I don't add any other sugars.
 2 heaping scoops of yogurt (probably about 3/4 cup).
I use plain Greek yogurt, but any will do.
 A handful of ice cubes will help make it frothy.
Blend together. Start with pulses to break up the ice cubes, then puree until smooth. 
This will make two large servings (as seen above) or 4 smaller servings.
Enjoy!

Monday, August 1, 2011

Peach Cobbler

I had a craving this weekend and I totally took care of it! And no, I'm not referring to the addictive fro-yo that has taken this town by storm (I swear, it's laced with something). I'm talking about good ol' home baked peach cobbler here.


Peach cobbler recipe:

3-4 sliced peaches tossed with 3-4 tablespoons of brown sugar
(enough to generously cover your baking dish & compensate for "quality control" tastings)

top with:
2/3 cup oatmeal
1/3 cup brown sugar
3-4 tablespoons cold butter 
(your call on how "lite" this turns out, I tend to side with Paula Deen when it comes to butter)


Now, get your hands in there and combine those ingredients to incorporate the butter. 
Then spread evenly over the peaches. 
Bake at 350 for about 10-15 minutes.


Scoop out a generous helping...
and serve with whipped cream.
(or if you're ravenous like me, just pour the heavy cream un-whipped over the top--
it'll taste the same.)